Jun 16th, 2006, 17:38
|
#1 |
|
在青麦地上跑着 / 雪和太阳的光芒
   

注册日期: Jul 2004
住址: Kilimanjaro
帖子: 9,428
积分:24
精华:16
   |
本文针对 Pontiac Grand Prix,其他车型请灵活运用。 Items needed:
|


|

|
|
Jun 16th, 2006, 17:39
|
只看该作者 #2 |
|
在青麦地上跑着 / 雪和太阳的光芒
注册日期: Jul 2004
住址: Kilimanjaro
帖子: 9,428
积分:24
精华:16
声望: 7498223
|
Directions 1. Jack the appropriate side of the car up. Make sure the rear wheels are blocked and/or set the parking brake. 2. Remove wheel. 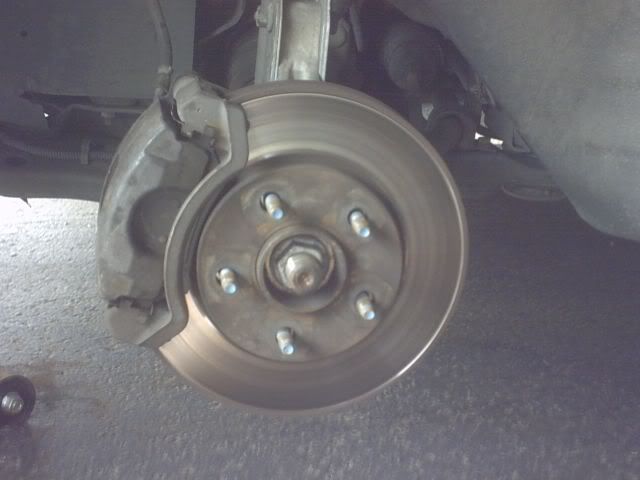 3. Remove brake caliper and bracket. 4. Remove rotor. 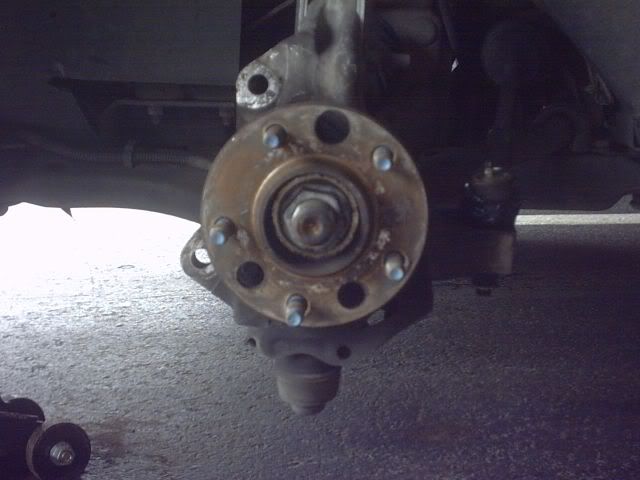
|
|
|
|
|
Jun 16th, 2006, 17:40
|
只看该作者 #3 |
|
在青麦地上跑着 / 雪和太阳的光芒
注册日期: Jul 2004
住址: Kilimanjaro
帖子: 9,428
积分:24
精华:16
声望: 7498223
|
5. Using 36mm axle socket, remove axle nut. You will either need an impact or a long breaker bar. They are put on with a lot of torque. 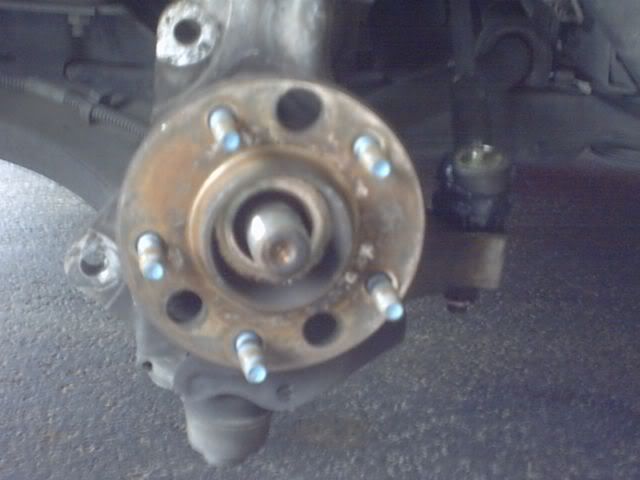 6. Push the axle back as far as possible. It won't come all the way out, but will become loose. You can either get a tool that will push it out, or I just used a hammer making sure not to hit the threads and damage them. One way to protect them is to put the nut back on so it is flush with the top. 7. Disconnect the wheel sensor connector and remove from the bracket. 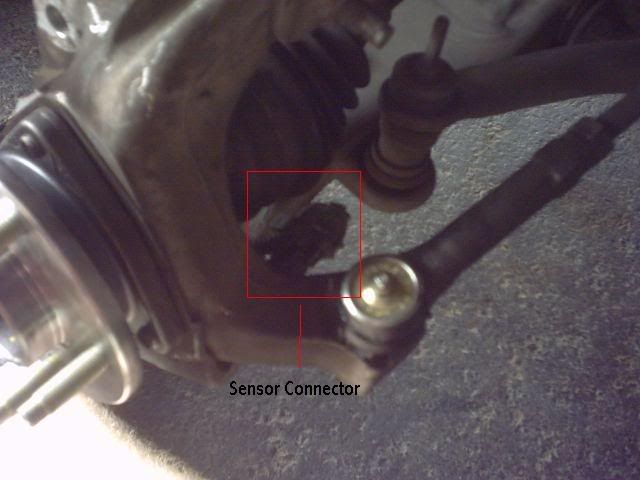
|
|
|
|
|
Jun 16th, 2006, 17:41
|
只看该作者 #4 |
|
在青麦地上跑着 / 雪和太阳的光芒
注册日期: Jul 2004
住址: Kilimanjaro
帖子: 9,428
积分:24
精华:16
声望: 7498223
|
6. Push the axle back as far as possible. It won't come all the way out, but will become loose. You can either get a tool that will push it out, or I just used a hammer making sure not to hit the threads and damage them. One way to protect them is to put the nut back on so it is flush with the top. 7. Disconnect the wheel sensor connector and remove from the bracket. 8. Take a 13mm socket with extensions as needed and remove the 3 bolts on the backside of the bearing around the axle. 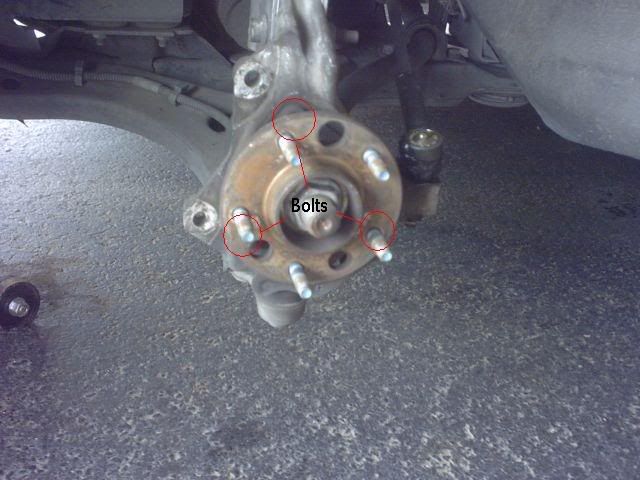
|
|
|
|
|
Jun 16th, 2006, 17:42
|
只看该作者 #5 |
|
在青麦地上跑着 / 雪和太阳的光芒
注册日期: Jul 2004
住址: Kilimanjaro
帖子: 9,428
积分:24
精华:16
声望: 7498223
|
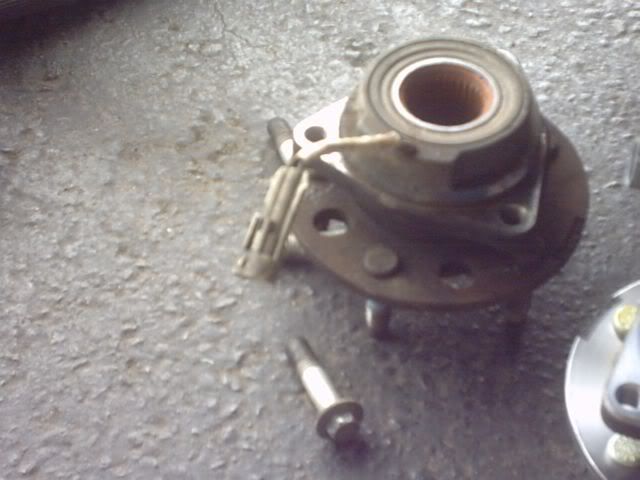
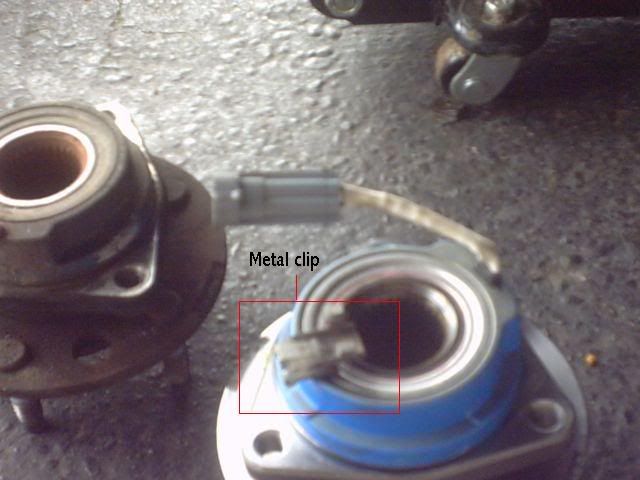
9. On my car the bearing just came loose and starting falling as soon as I got the last bolt halfway out. Otherwise you might have to pry it out. 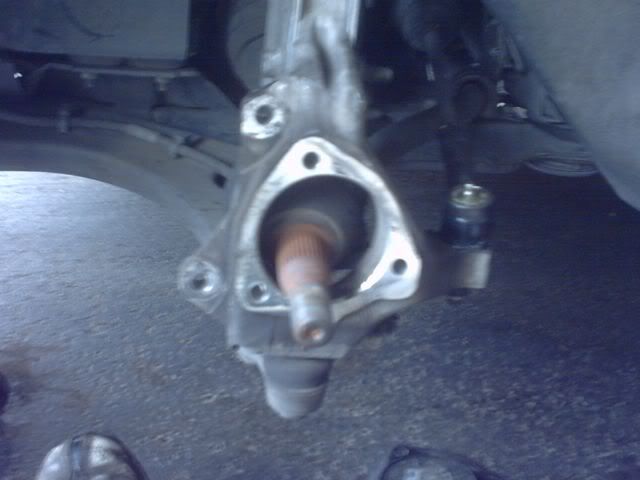 10. Double check both parts to make sure they match. 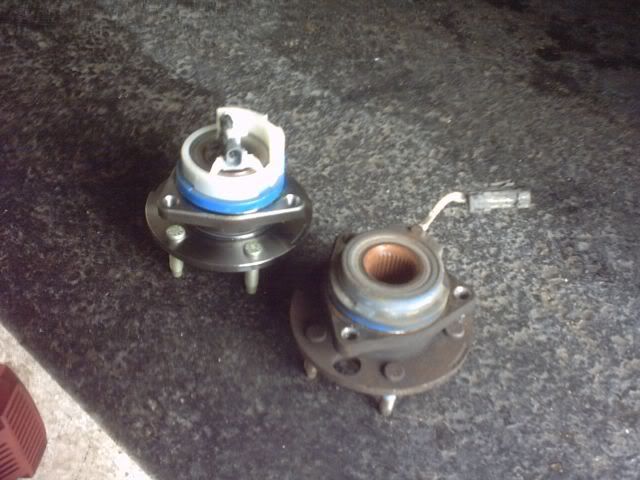
|
|
|
|
|
Jun 16th, 2006, 17:44
|
只看该作者 #7 |
|
在青麦地上跑着 / 雪和太阳的光芒
注册日期: Jul 2004
住址: Kilimanjaro
帖子: 9,428
积分:24
精华:16
声望: 7498223
|
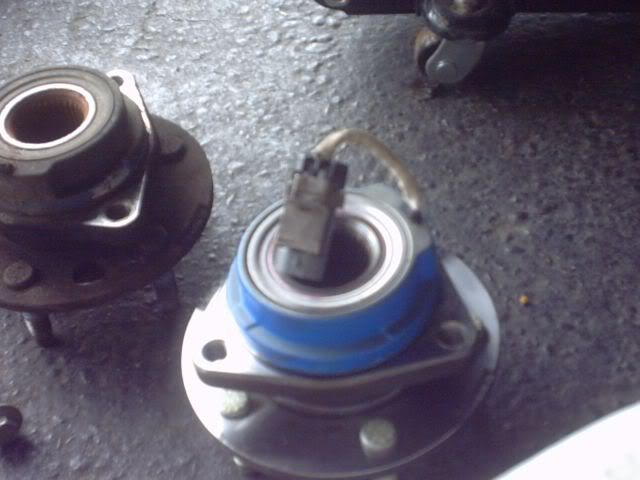
12. Install the bearing with the wires from the bearing at the bottom. Make sure to replace that sheet metal between the spindle and wheel bearing. Make sure the wires don't get pinched by the driveshaft. 13. Install the 3 13mm bolts to 96ft lbs. My service manual says to replace with new ones, but I didn't have a chance to get any new ones and my bearing didn't come with them. I might pull them out one at a time later and get new ones or put some thread locker on em to keep them from backing out. 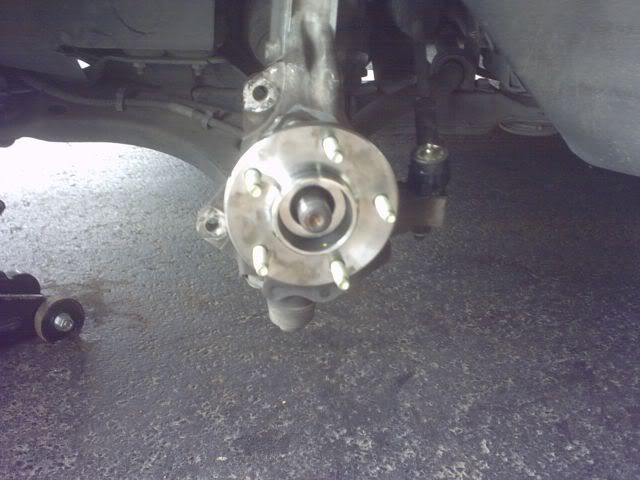 14. Pull the driveshaft back through the bearing making sure the splines line up. 15. Install the axle nut. As you tighten it down it will pull the driveshaft the rest of the way in. 16. Install the rotor, brackets and caliper. 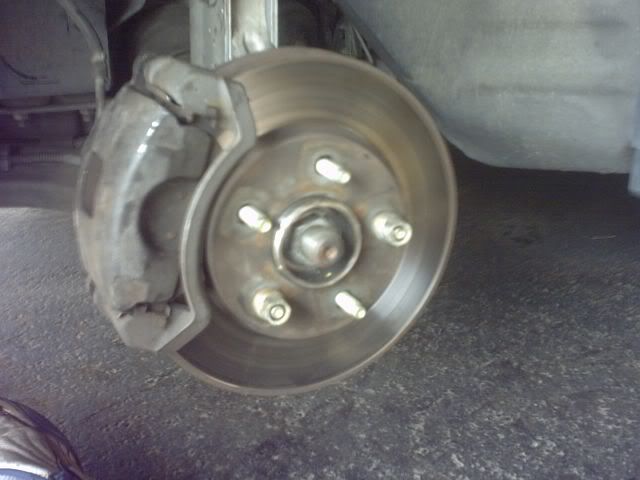 17. Install the connector to the bracket and reconnect both connectors. 18. Install the wheel and you're good to go. |
|
|
|
|
Jun 17th, 2006, 08:36
|
只看该作者 #12 | |
|
Senior Member

注册日期: Jul 2004
帖子: 13,451
声望: 11039664
|
引用:
|
|
|
|
|
|
Jun 17th, 2006, 09:30
|
只看该作者 #13 |
|
流狼.土狼屯


注册日期: Jun 2005
住址: 土狼屯
帖子: 27,020
积分:26
精华:12
声望: 21685773
 |
有门大侠说的太对了, 如果人要到车下面去, 肯定要用帖架子撑着, 光用JACK不够安全, 玩DIY一定要安全! 小气流的IMPACT GUN是标称250磅, 我用TORQUE WRENCH量过对比过, 实际可以砰砰砰砰冲击到230磅, 但标称150磅的螺丝往往还是打不下来, 因为时间陈旧了锈啊什么的反正就是不肯下来, 标称450磅-550磅的那些IMPACT GUN好是好, 但实际上家里的小气泵峰值功率不超过3.5HP, 那些450磅的大枪事实上是需要SHOP里的大气泵才能驱动到真正的力度和强度 所以作为DIY来说, 无需450磅的大枪, 工作气流太大也会伤小气泵, 需要300磅扭矩来松那些锈的150磅螺丝, 就用3尺长的BRAKE BAR站上去跳几下吧, 至于那些850磅的或者3/4的巨枪......DIY要那些铁疙瘩来干吗 |
|
|
|
|
Jun 17th, 2006, 11:11
|
只看该作者 #14 | |
|
Senior Member

注册日期: Jan 2005
帖子: 644
精华:1
声望: 372637
|
引用:
实际上DIY的impact gun用电的就好了,CT打折的时候120块,250lb是不假的,小车绝对够用。俺一般用Dewalt 059,300lb cordless,省得管管线线的,两块电池15min充电器,重来不会影响干活。 |
|
|
|
|